REVIEW · TOKYO
Tokyo: Private Manga Drawing Class with Professional Artist
Book on GetYourGuide →Operated by Shingo Travel., LLC · Bookable on GetYourGuide
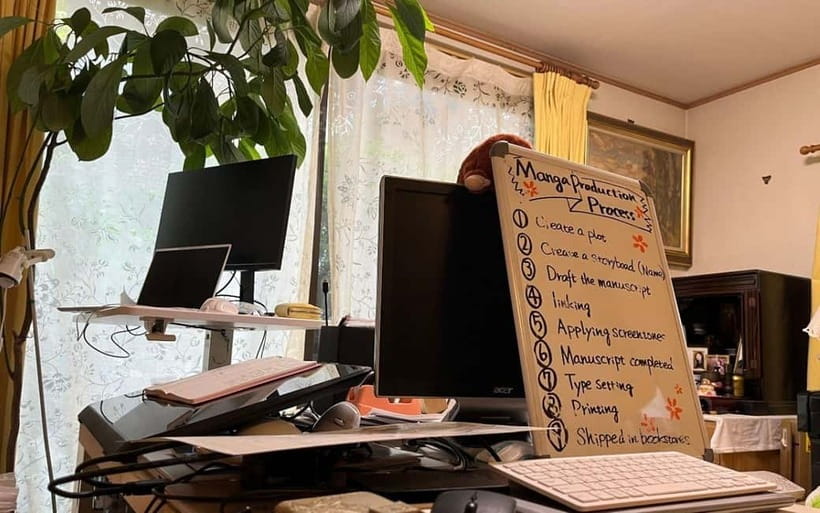
Manga starts with your own messy lines. In Tokyo, you’ll draw in a real manga studio with Yumiko sensei, a published professional artist, using industry-style tools and English instruction that actually helps you move forward fast. The whole setup is built for hands-on progress, not just watching someone else draw.
Two things I especially like: first, you learn with the same pen types pros use (classic G-pens, maru-pens, and brush pens), plus careful guidance on paper choice and line control. Second, the class teaches the practical “why” behind shading and effects, including classic screentones and halftone methods that turn flat sketches into manga pages.
One consideration: this is a studio workshop, so you need to handle getting to Shindaita Station on your own (transportation isn’t included). If you’re road-tripping through Tokyo, it’s worth planning transit time so you’re not rushing.
In This Review
- Key points
- First Step: Meeting Your Instructor Outside Shindaita Station
- Tools and Paper: Why Manga Pens Feel Different (and Matter)
- The pens you’ll train with
- Paper choice: tooth and weight (yes, it’s a thing)
- Quick pain-point fixes
- Picking Your Difficulty Level (and Actually Finishing Something)
- The anatomy method: simple shapes first
- Inking and Line Weight: The Manga Trick You Can Use Everywhere
- Screentones and Halftones: Turning Flat Lines Into Depth
- What screentones change
- The “cut and fit” tools
- The Last Stretch: Critique, Corrections, and What You Take Home
- What’s included in your take-home pack
- Questions about manga careers
- Price and Value: Is $141 Worth It?
- Who This Tokyo Manga Class Fits Best
- Should You Book It? My Practical Take
- FAQ
- FAQ
- How long is the Tokyo manga drawing class?
- How much does it cost?
- Is the class private or small-group?
- What language is the instruction?
- Do I need prior drawing experience?
- What tools will I learn to use?
- Will I be able to choose what I draw?
- Is screentone part of the class?
- What do I take home?
- Where is the meeting point?
Key points
- Max 6 people means you get corrections on your posture, hand angle, and line work
- Real manga tool training covers G-pens, maru-pens, and brush pens plus ink and paper choices
- Three difficulty tiers let you pick guided practice or full character design
- Screentones and halftones teach depth with cut-and-apply dot/line sheets
- One-on-one critique with signed feedback and take-home artwork
First Step: Meeting Your Instructor Outside Shindaita Station
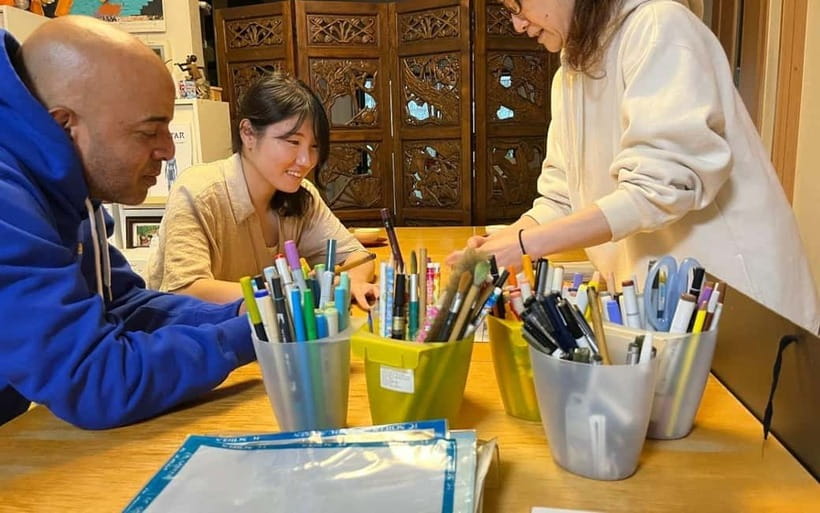
Your class starts at Shindaita Station (Keio Inokashira Line). Meet your guide just outside the ticket gates. The station has a single exit, so you’re not playing guess-the-stairs. From there, you’ll head to the studio for your drawing session.
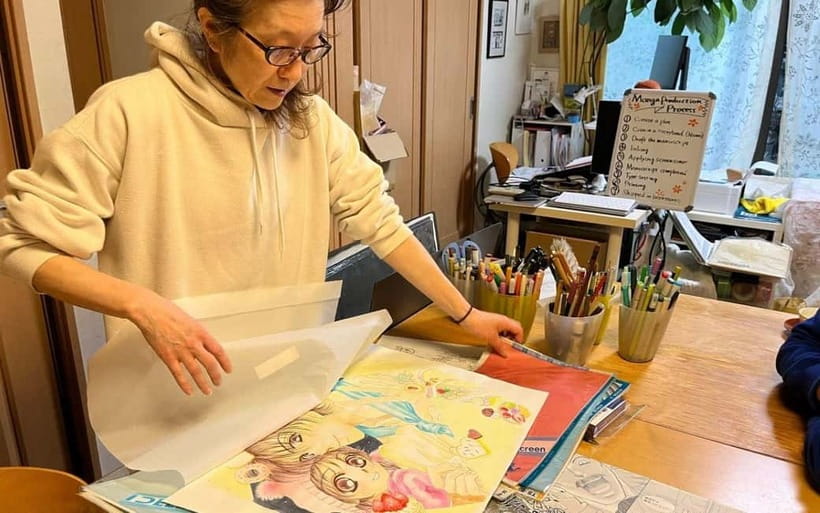
The vibe here matters. You’re not handed a worksheet and told good luck. You’re in a working studio environment with a professional artist who’s used to producing manga work for publication. In one session, Yumiko sensei was patient with questions and guided students through character work step by step, even when they were starting from scratch.
You’ll also have a chance to talk through what you want to draw. The instructor may show a portfolio and tailor your lesson based on the genre you like, including shōnen, shōjo, and seinen. That personalization is a big deal, because it keeps the practice connected to what you actually care about.
You can also read our reviews of more private tours in Tokyo



Tools and Paper: Why Manga Pens Feel Different (and Matter)
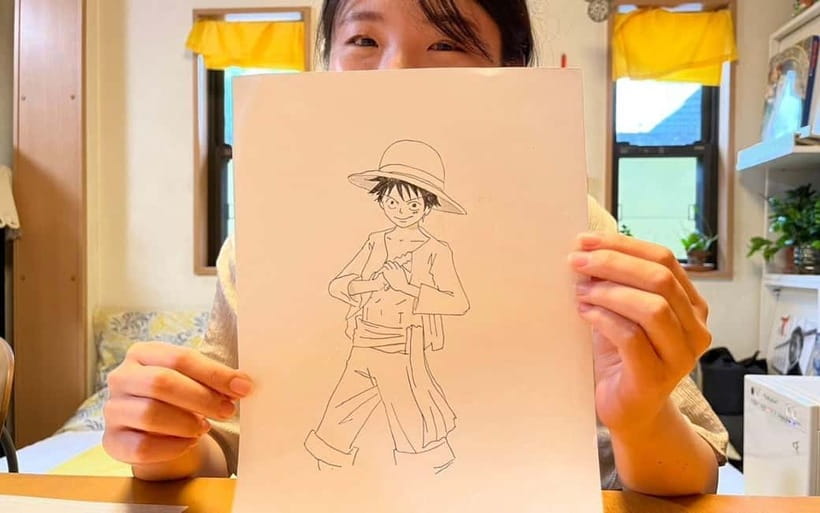
This workshop is serious about tools, in a good way. You’ll learn how classic manga tools behave on the page, and why switching even one variable changes your results.
The pens you’ll train with
You’ll try G-pens, maru-pens, and brush pens. Each one has a different line feel:
- G-pens help you get clean, steady strokes suited for manga inking
- Maru-pens are great for controlled line shapes and consistent thickness
- Brush pens are for expressive variation and quick, confident marks
You’ll also see how different ink and drawing workflows can fit together, including options like dip ink, alcohol markers, and even digital tablets. That doesn’t mean you need to go digital. It just shows you the broader toolkit manga artists use today.
Paper choice: tooth and weight (yes, it’s a thing)
One of the most useful parts is the paper lesson. You’ll compare premium Kent paper versus inexpensive copy paper and learn why paper affects:
- how ink sits on the surface
- how smoothly lines flow
- how easily things smudge or stay crisp
If you’ve ever drawn on random paper and wondered why it looked bad, this explains it. The goal isn’t to shame cheaper paper. It’s to help you understand what to buy and why, so your next sketchbook purchase won’t be a gamble.
Quick pain-point fixes
You’ll get guidance on common frustration points such as smudging, line control, hand strain, and perspective. Then you learn techniques to reduce them. Expect practical tips like adjusting how you hold your page rather than forcing your wrist for perfect curves.
You can also read our reviews of more tours and experiences in Tokyo



Picking Your Difficulty Level (and Actually Finishing Something)
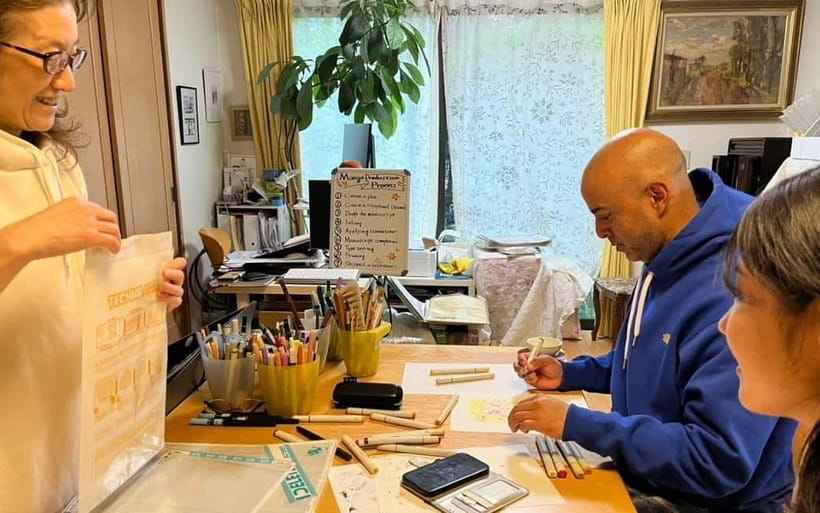
You choose from three difficulty tiers, each with printed guideline sheets. This matters because manga skill-building isn’t one-size-fits-all.
Depending on your choice, you may start with:
- inking practice
- character outline
- full character design
There’s also flexibility if you’re drawing for fun, kids are joining, or you want something cute and fast. You can request a chibi style, an action pose, or an expression sheet. That’s a smart option because it keeps momentum—when you can pick what you feel like drawing, you stick with it through the harder steps like line weight and screentone application.
The anatomy method: simple shapes first
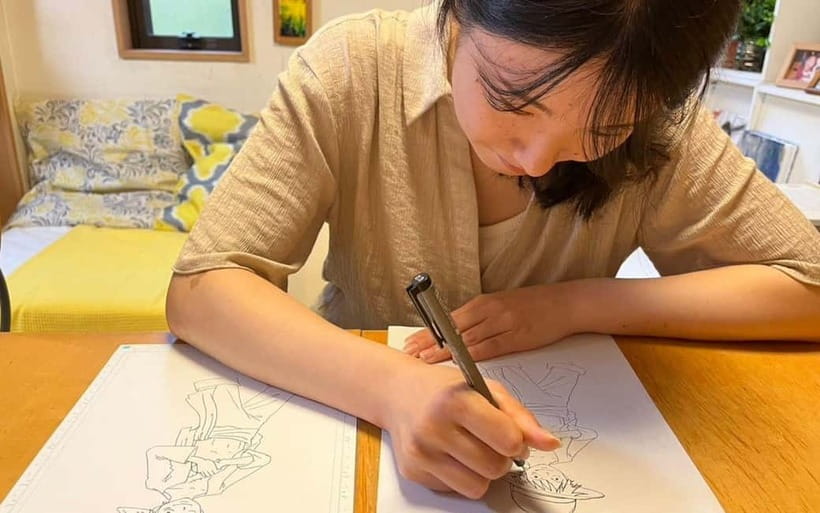
You won’t be thrown into total freehand proportions. You’ll use basic shapes to lock in anatomy and balance, including head-to-body ratio and how to plan your balance line. This is exactly how you stop the “my character looks weird in the same outfit” problem.
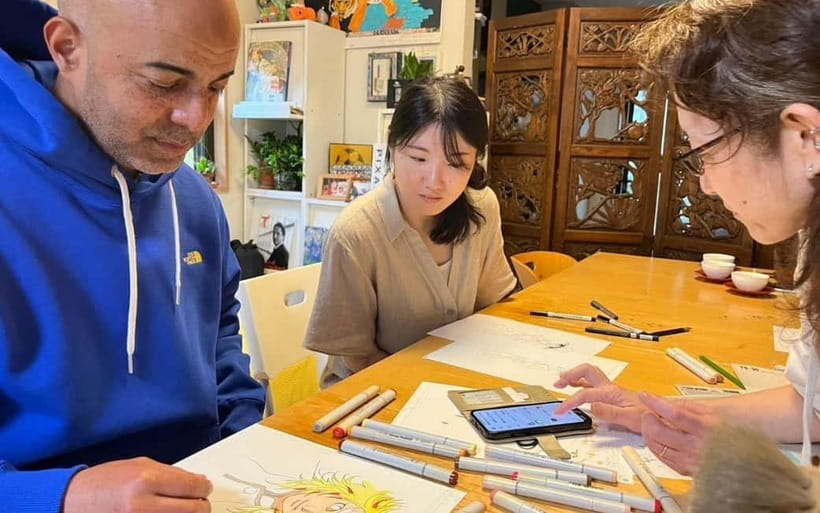
And because the group max is 6, the instructor can circle the room, check your posture, and correct hand angles. When needed, she’ll demonstrate on your page. That kind of live correction saves time. You don’t have to guess where the problem is.
Inking and Line Weight: The Manga Trick You Can Use Everywhere
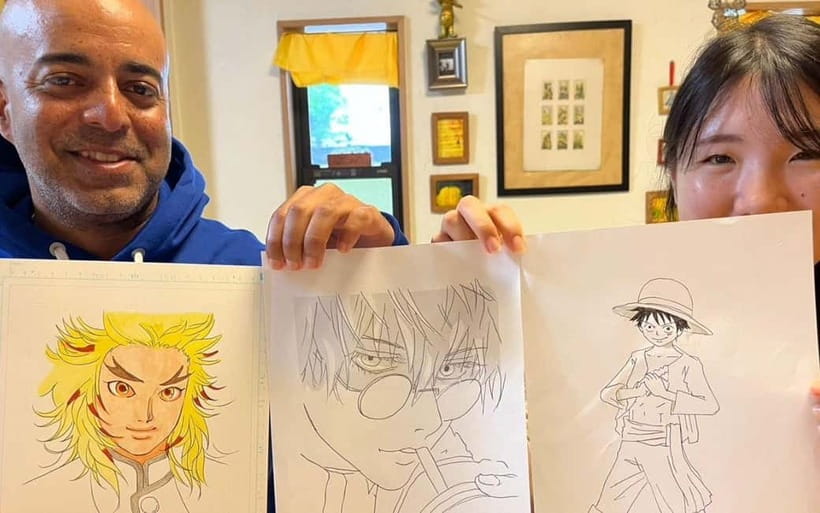
This is where manga starts to look like manga. You learn where to thicken or taper lines to add volume. It’s called line-weight theory, and it’s one of the easiest upgrades you can make to your drawing.
You’ll practice:
- controlling line width for depth
- using curves without wobble
- improving consistency across different parts of the character
You’ll also learn shading-like effects using tools and techniques such as feathering for hair shine and speed lines for motion. These aren’t random hacks. They’re conventions manga artists use to communicate texture and energy quickly.
A helpful pro tip you’ll likely hear during the session is the idea of rotating the page instead of fighting your wrist. If you’ve ever tried to ink a curved contour with your wrist only, you’ll understand why this works. It reduces strain and makes curves cleaner.
Screentones and Halftones: Turning Flat Lines Into Depth
If you want your character to look printed, screentone is the secret sauce. This class teaches classic screentone—including how to cut and apply dot/line sheets to build depth and texture.
What screentones change
Screentones help you:
- create shadow without fully rendering every surface
- add atmosphere and background texture
- make skin, clothing, and hair look dimensional
You’ll also use halftone sheets for shadows, backgrounds, or sparkle effects. That’s useful if you like dramatic lighting or you want your character to look more cinematic without doing a full paint render.
The “cut and fit” tools
You’ll learn how to trim and blend edges cleanly using an art knife and burnishing spoon. That may sound like craft work, but it’s the difference between amateur screentones and ones that look like they belong in a manga panel.
You’ll add final touches such as highlights using white-ink pens. If you mess up, you’ll also learn how to correct using correction fluid. This is reassuring because it removes the fear factor. You can make changes and keep going.
The Last Stretch: Critique, Corrections, and What You Take Home
As the session moves toward the end, you’ll add finishing touches and get feedback. Expect a one-on-one critique where the instructor marks areas to improve. You’ll also receive a signed finish to your work.
What’s included in your take-home pack
You don’t just leave with a single finished page. The class includes:
- your original artwork
- practice sheets you can reuse
- a mini handbook listing today’s tools and where to buy them in Tokyo
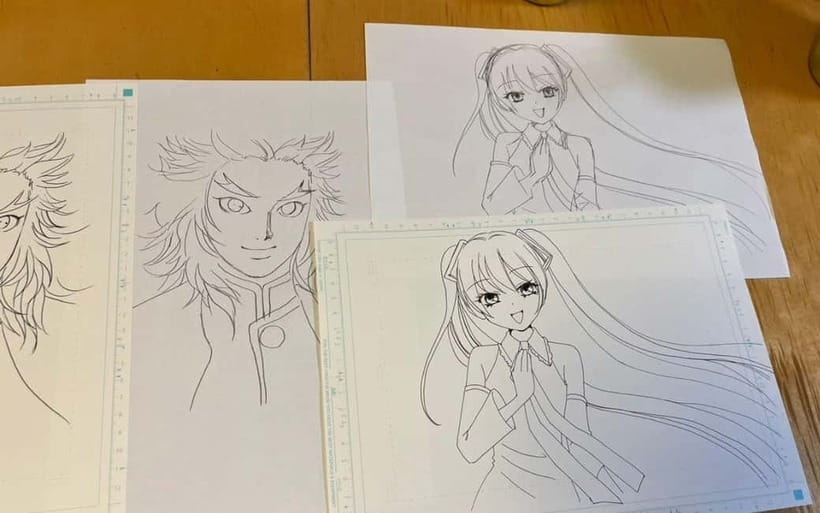
- a portrait drawn by the manga artist (included in the package)
In one example, a student chose to draw Tanjiro and received a signed Tanjiro portrait that matched the theme. Even if your final piece isn’t identical to the artist’s own style, the takeaway is consistent: you leave with a real keepsake and a reference set you can practice from later.
Questions about manga careers
This class is also a Q&A opportunity. If you’re curious about breaking into the industry, portfolio reviews, or publishing tips, you can ask. In at least one session, Yumiko sensei answered questions with patience and care and helped a student understand next steps. That kind of guidance is valuable if you’re trying to turn your hobby into a real plan.
And yes, you’ll be able to take pictures with your instructor and your artwork—helpful for documenting progress and sharing your results.
Price and Value: Is $141 Worth It?
At $141 per person for 150 minutes, you’re paying for three things that are hard to replicate on your own:
- Professional instruction from a published artist
- Tool guidance that saves you money and time (pens, paper, screentones, and handling methods)
- Personal feedback in a max 6-person setting, which is the difference between learning art concepts and actually fixing your lines
If you’ve tried online videos, you know the problem: you copy steps, then nothing clicks because nobody corrects what you’re doing wrong. Here, corrections are part of the process, from posture and hand angles to line weight and screentone edges.
The cost also makes sense because the session includes your supplies use and a take-home pack that extends the value beyond the class time. You get practice sheets, a mini handbook, and a portrait from the artist—so you’re not just paying for the 2.5 hours, you’re paying for the “keep practicing at home” part.
The main trade-off is that transportation to the studio isn’t included, and you’ll want comfortable clothes you can move in while drawing. But if you’re already in central Tokyo for other plans, this workshop is a pretty direct way to spend a meaningful chunk of time.
Who This Tokyo Manga Class Fits Best
This workshop fits best if you:
- want to draw manga characters in a guided, structured way
- like learning by doing (not just watching)
- care about getting manga-style results, especially with screentones and line weight
- want an English session with Japanese support available
It’s also ideal for teens and adults who are serious enough to practice but still want a supportive environment. One parent booked the class for an 18-year-old son and said he learned a lot and had clear tools to practice at home, with recommendations from the instructor.
Children can join if they are 6 and up. Younger kids won’t be a fit, since the session is focused on tools, inking, and screentone technique that needs careful handling.
If you have no prior drawing experience, good news: you don’t need any. The class is built around printed guideline sheets and step-by-step character building.
Should You Book It? My Practical Take
Book this class if you want a fast, satisfying path into manga drawing with real technique: pens, paper, screentones, and the line control that makes everything look professional. The small group size and one-on-one corrections are the reason it works. You’re not stuck grinding alone.
Consider skipping (or choosing a different style of workshop) if you hate getting your hands ink-stained or you’re the type who gets stressed when feedback is direct. This is hands-on, with critique and tool practice. For most people, that’s exactly what makes it fun.
FAQ
FAQ
How long is the Tokyo manga drawing class?
The session runs for 150 minutes.
How much does it cost?
It costs $141 per person.
Is the class private or small-group?
It’s a private group with a maximum group size of 6 guests per session.
What language is the instruction?
The session language is English, with Japanese support available.
Do I need prior drawing experience?
No prior drawing experience is required.
What tools will I learn to use?
You’ll learn with classic G-pens, maru-pens, and brush pens, and you’ll practice techniques using manga screentones.
Will I be able to choose what I draw?
Yes. You can choose from three difficulty levels and create your own manga character, with options like chibi style, action pose, or expression sheets.
Is screentone part of the class?
Yes. You’ll use classic screentone by cutting and applying dot/line sheets for depth and texture, and you may also use halftone sheets.
What do I take home?
You’ll take home your original artwork, practice sheets, a Portrait drawn by the manga artist, and a mini handbook listing tools and where to buy them in Tokyo.
Where is the meeting point?
Meet your guide just outside the ticket gates of Shindaita Station (Keio Inokashira Line). The station has a single exit.