REVIEW · TOKYO
Tokyo: Private Photo Shoot with a Professional Photographer
Book on GetYourGuide →Operated by 高田優写真事務所 · Bookable on GetYourGuide
Tokyo is great for photos, but it can also be a photo mess. This private shoot turns that chaos into clean, usable pictures you can actually enjoy later. You’ll work with Japanese pro photographer Yu Takada, and you get to pick the neighborhoods you care about most.
What I like most is how direct the approach is: Yu helps you find strong spots and gives clear direction for posing. Then you get a stack of edited images (the info I saw lists 30 for a 1-hour shoot or 50 for 2 hours, though another section mentions 25 and 40), delivered by Google Drive or email. The main drawback is simple: you’ll be walking, and transportation and any attraction entrance fees are not included.
In This Review
- Key things to know before you pick your Tokyo neighborhoods
- Why Asakusa, Shinjuku, and Shibuya in one private session makes sense
- Meet Yu Takada near Kaminarimon, then start with the right “Tokyo frame”
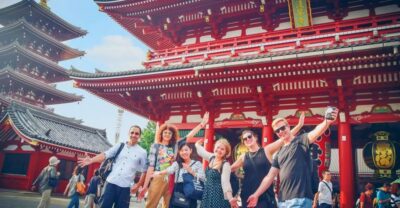
- Asakusa at Sensoji: Kaminarimon to the five-story pagoda views
- Kaminarimon Gate and the start of the temple story
- Nakamise-dori: the shopping street you can use for lifestyle shots
- Hozomon Gate and the main hall area
- Optional: etiquette guidance for fortune-telling and Buddhist prayer
- Shinjuku’s Kabukicho and Nishi-Shinjuku: portraits against the big-city machine
- What to expect in Shinjuku
- Shibuya: scramble crossing, Center Gai, and Miyashita Park energy
- Scramble crossing: iconic movement, strong composition potential
- Center Gai: the classic meeting-point vibe
- Miyashita Park: a change of scenery before you wrap
- Price and value: $180 per group is really about control
- Editing turnaround and delivery: how you get your Tokyo photos back
- How to get the best shots: shoes, weather, and actually listening to direction
- Wear comfortable walking shoes
- Be ready for changing weather
- Arrive on time at the meeting point
- Listen to posing help
- Picking 1 hour vs 2 hours: what the extra time buys you
- Who this is best for (and who might want to skip it)
- Should you book this private Tokyo photo shoot?
- FAQ
- How many people are included in the private group?
- How long is the photo shoot?
- Where is the meeting point in Tokyo?
- Which areas of Tokyo can you photograph?
- What specific places are included in Asakusa?
- What specific places are included in Shibuya?
- What about Shinjuku locations?
- How many edited photos do I receive?
- How do I get the photos after the shoot?
- What’s included, and what’s not?
- Is free cancellation available?
Key things to know before you pick your Tokyo neighborhoods
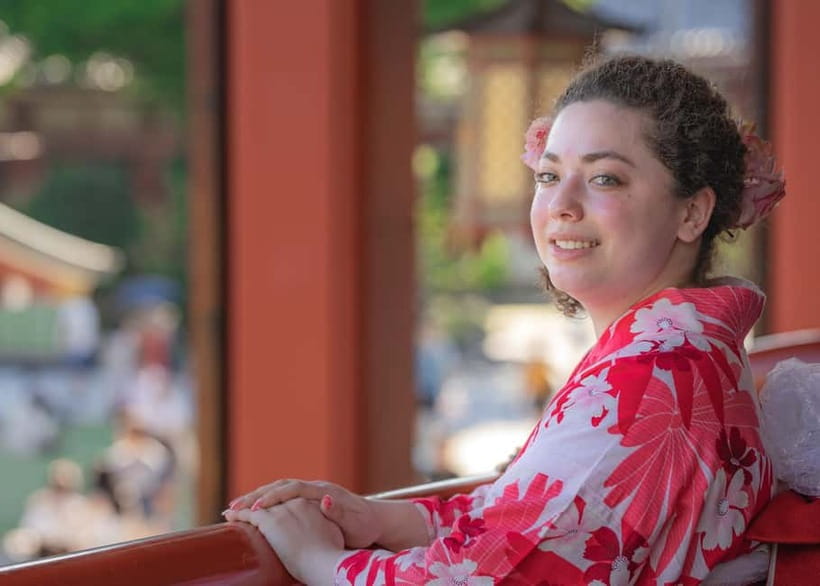
- Yu Takada directs you so you’re not guessing where to stand or how to pose
- Choose your vibe across Asakusa, Shinjuku, and Shibuya instead of following a fixed route
- Sensoji comes with etiquette context if you opt for guidance on fortune-telling and prayer
- Iconic backdrops in a short window: Kaminarimon, Hozomon, pagoda views, and the Shibuya scramble
- Edited photos delivered digitally via Google Drive download or email after your shoot
Why Asakusa, Shinjuku, and Shibuya in one private session makes sense
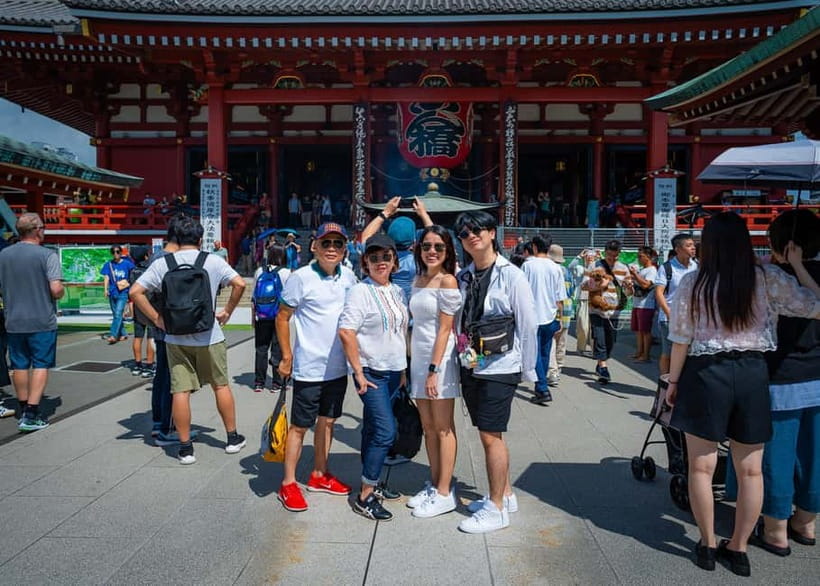
Tokyo has famous photo locations in every direction. The problem is time. If you try to do a “quick shoot” by yourself, you end up bouncing between crowded corners, checking your phone camera settings, and losing the moment you wanted to capture.
This experience solves that with a private, professional setup. You choose the areas—Asakusa for old-meets-new temple streets, Shinjuku for big-city energy, and Shibuya for the famous crossing—and Yu handles the on-the-ground photo decisions. The session is only 1–2 hours, which means you get strong results without turning your trip into a part-time job.
Also, the group size matters. It’s priced per group (up to 4 people). If you’re traveling as a small group, the cost spreads out fast compared with paying for separate sessions, and you can still get personalized attention.
You can also read our reviews of more private tours in Tokyo
Meet Yu Takada near Kaminarimon, then start with the right “Tokyo frame”
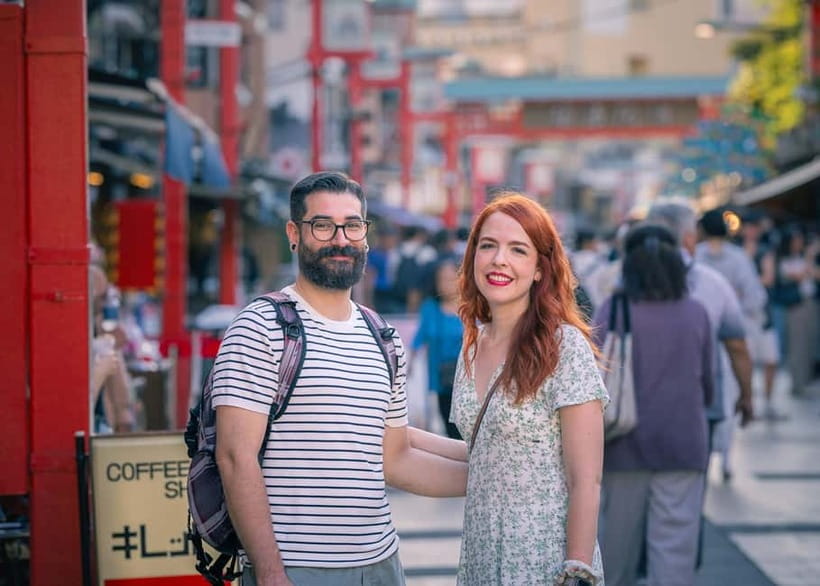
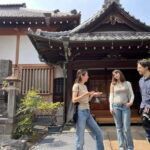
Your shoot starts at Asakusa Station on the Tokyo Metro Ginza Line, Exit 3. You walk about 90 meters straight, and you meet in front of the police box right next to the Kaminarimon Gate.
That meeting point is smart because it puts you immediately in Asakusa’s most recognizable zone. You’re not starting five stops away with a “meet and hope” vibe. Instead, you begin where the photo story already makes sense.
From there, you’ll move through landmark areas at a walking pace. Expect direction from your photographer—where to stand, how to angle your body, and how to position yourselves so you actually look like you belong in the scene. In the reviews, Yu is praised for being patient and for giving practical posing help, which is exactly what you want when you’re not a model and you still want photos that look natural.
Asakusa at Sensoji: Kaminarimon to the five-story pagoda views
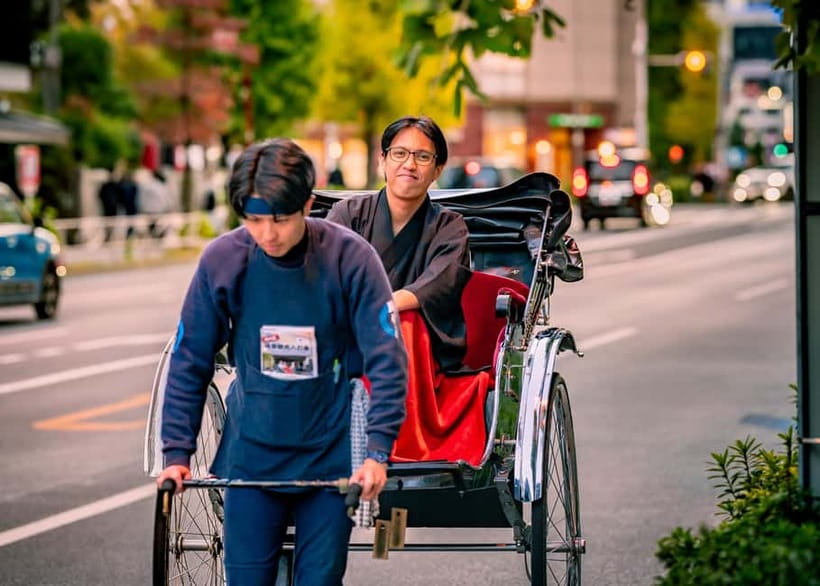
Asakusa is your best choice if you want photos with depth—architecture, street texture, and that ceremonial feel that Tokyo does so well. In a short session, Yu focuses you on the highest-impact views so you don’t waste time wandering.
Here’s how the Asakusa side typically unfolds:
Kaminarimon Gate and the start of the temple story
You’ll take photos around Kaminarimon, the dramatic entrance right by where you meet. This is one of those locations where framing is everything: the gate gives you structure, but the best shots come from knowing how to place people relative to it.
Nakamise-dori: the shopping street you can use for lifestyle shots
After Kaminarimon, you’ll stroll along Nakamise-dori, the shopping street connecting the gate and Sensoji. The angle here is different than a strict “posed portrait.” You’ll get chances for shots that feel more like you’re living the moment—walking, looking around, and moving through the street rather than just standing in front of one sign.
You can also read our reviews of more photography tours in Tokyo
Hozomon Gate and the main hall area
At Sensoji, you’ll move toward photos in front of the Hozomon Gate, then continue to views near the main hall and the iconic five-story pagoda.
These spots work because they layer elements: gate + people + temple lines + pagoda silhouette. Even when it’s crowded, Yu’s direction helps keep your faces clear and your composition intentional.
Optional: etiquette guidance for fortune-telling and Buddhist prayer
If you want it, you can get a lecture on the etiquette of fortune-telling and Buddhist prayer at Sensoji. This is valuable for two reasons:
1) You avoid doing things in a way that feels awkward or disrespectful.
2) You also end up with photos that make more sense because you understand what you’re photographing and why.
Even if you skip the lecture part, the temple setting still gives you a distinct tone. Just know that choosing to stop for etiquette guidance can add a bit of pace change, so it can help to treat Asakusa as a “focus neighborhood” in a 1-hour session.
Shinjuku’s Kabukicho and Nishi-Shinjuku: portraits against the big-city machine
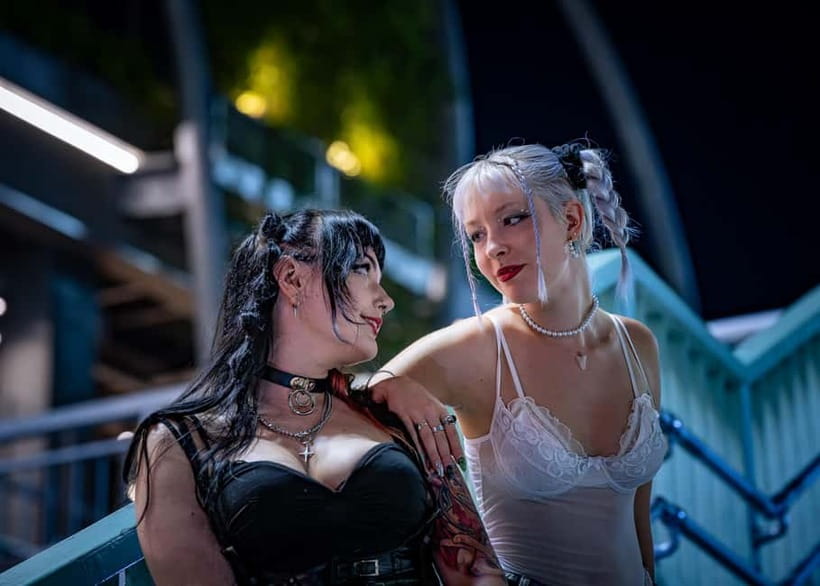
If Asakusa feels like Tokyo’s traditional face, Shinjuku is Tokyo’s sharp edge. In Shinjuku, you’ll visit Kabukicho and Nishi-Shinjuku, plus other nearby areas depending on the route and timing.
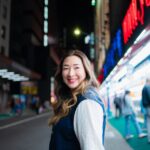
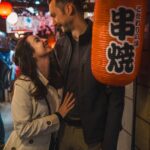
What’s good about this part of the shoot is that it offers contrast. You’re swapping temple symmetry for a modern urban look—signage, street angles, and the kind of lighting that makes portraits pop (especially if the day-to-evening timing works out).
What to expect in Shinjuku
- You’ll likely get more “directional portrait” moments than temple-walk candid ones.
- You’ll move through photo angles that are harder to plan alone. In Shinjuku, the best backgrounds are often one step off the main path. Yu’s job is to find those steps and get you there without wasting time.
One practical consideration: Shinjuku involves more walking and more visual noise. If you’re the type who gets overwhelmed by crowds, this is where a pro’s calm guidance helps. The reviews consistently mention Yu being patient and easy to work with—those traits matter when you’re trying to look relaxed while the city is moving fast around you.
Shibuya: scramble crossing, Center Gai, and Miyashita Park energy
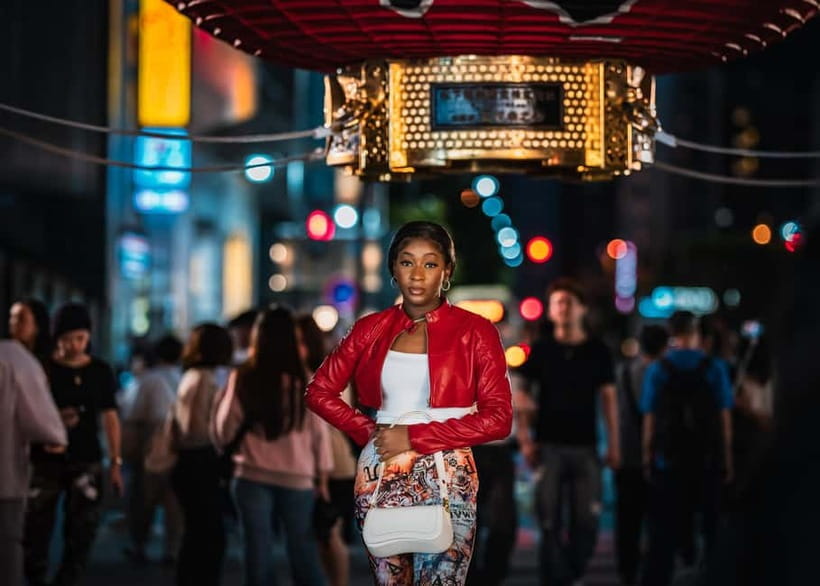
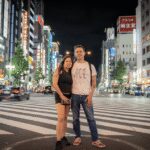
Shibuya is the “postcard Tokyo” moment most people picture. The shoot includes time at Japan’s most famous scramble crossing, Center Gai, and Miyashita Park.
This is a great combination because each stop serves a different photo purpose:
Scramble crossing: iconic movement, strong composition potential
The scramble gives you instant recognition. But it also can be chaotic if you’re trying to shoot solo. With a photographer directing you, you’re less likely to end up with blurry faces, awkward cuts, or a framing that hides your group.
Center Gai: the classic meeting-point vibe
Center Gai is made for photos that feel like you’re in the middle of Tokyo’s action. It’s also helpful for group shots, because you can position people in a way that uses the space instead of competing with the crowd.
Miyashita Park: a change of scenery before you wrap
Miyashita Park helps break the density of crossing streets. It’s a chance for slightly different angles and a more “designed Tokyo” look.
If you’re choosing locations, Shibuya is usually the one people want most. In a 1-hour session, you may want to pick just one neighborhood plus maybe one quick extra stop nearby, rather than trying to cram everything. You’ll get stronger pictures when you’re not rushing between scenes.
Price and value: $180 per group is really about control
The price is $180 per group up to 4, for 1–2 hours. That structure changes the value question.
Here’s the simple math:
- If you bring a full group of 4, the cost is about $45 per person.
- If it’s just 1–2 people, it’s higher per person, but you’re still paying for private direction and editing, not just a walkaround.
Then look at what you receive: 30 or 50 edited photos is what the highlights list (and another section lists 25 or 40). Either way, it’s a lot of usable images for a short session. This is the real value: editing turns your shots into something you can actually share, print, or keep in your Tokyo photo album without a ton of extra work.
Also, delivery is digital (download via Google Drive or photos sent by email). That means you don’t have to find a printer, carry files around, or hunt for a shop before you move on to your next stop.
Editing turnaround and delivery: how you get your Tokyo photos back
The materials mention edited photo delivery within a week. One review also notes receiving edited photos earlier than promised, which suggests you may get them quickly if timing works out.
The delivery method is straightforward:
- Google Drive download, or
- Email delivery
For me, that matters because Tokyo trips move fast. The last thing you want is a photo shoot that delays your memories. Digital delivery means you can keep planning your days and only think about photos when they arrive.
How to get the best shots: shoes, weather, and actually listening to direction
A private shoot can either make you feel confident—or stressed. To keep it fun, focus on the practical stuff the experience itself points out:
Wear comfortable walking shoes
This is not a seated studio session. You’ll be walking between areas and viewpoints. Comfortable shoes prevent the “I’m smiling but my feet are dying” problem that ruins photos in a hurry.
Be ready for changing weather
Tokyo weather can shift quickly. The info tells you to check the forecast, and one review specifically mentions continuing in bad weather and still getting great results. So if the forecast looks questionable, don’t automatically cancel. Just dress for the conditions and plan to move.
Arrive on time at the meeting point
Since the session is short (1–2 hours), being late steals minutes from photos. Starting close to the action, like the Kaminarimon police box meeting area, only works if you’re there when it starts.
Listen to posing help
In reviews, Yu is praised for directing posing and being patient when schedules run behind. Translation: you don’t need to know what to do. You just need to trust the guidance for a few minutes at each location.
Picking 1 hour vs 2 hours: what the extra time buys you
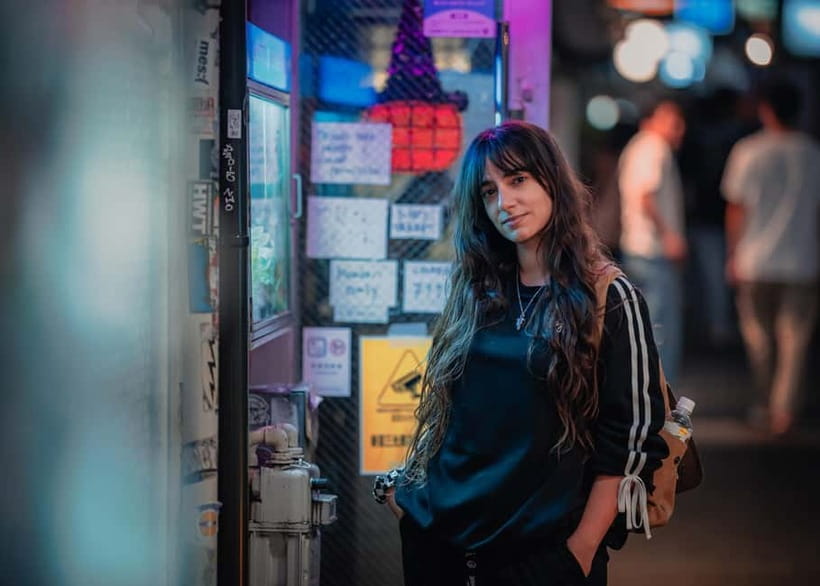
The experience gives you a choice:
- 1-hour shoot for a certain number of edited photos
- 2-hour shoot for a larger batch of edited photos
Even if you don’t care about the exact photo count difference, the extra time changes the experience in three ways:
1) You can spend more moments at each location instead of sprinting to the next landmark.
2) You can capture a wider range of angles—front portraits, side views, full-body shots, and group compositions.
3) You have more flexibility if the area is crowded or lighting changes.
In practice, I recommend:
- If you want Asakusa plus one more neighborhood, consider 2 hours.
- If you want a focused, higher-quality run through one neighborhood, 1 hour can be plenty.
- If you’re chasing all three (Asakusa + Shinjuku + Shibuya), 2 hours is the safer bet.
Who this is best for (and who might want to skip it)
This shoot is ideal if you:
- Want iconic Tokyo locations without the burden of planning every shot
- Are traveling with a partner, friends, or family and want portraits that look like you “meant to get these” (not like you accidentally took them)
- Like having your time back. Instead of spending your trip trying to self-photograph, you can focus on being present.
It may not be for you if you:
- Hate walking or don’t like being directed
- Only want spontaneous street photos with no posing
- Expect meals or attraction tickets to be handled for you
A quick reality check: transportation between locations isn’t included, and entrance fees for attractions aren’t included either. If you’re planning to cross multiple neighborhoods, build that cost and time into your own day.
Should you book this private Tokyo photo shoot?
I’d book it if you want a Tokyo photo set that looks intentional and professional, without turning your vacation into a photo workshop. The best sign is the consistency: Yu gets praised for knowing the best spots, directing posing, and staying patient, even when weather or timing gets messy.
Book it particularly if:
- You care about photos but don’t want to wrestle with camera settings and crowds.
- You’re choosing between neighborhoods anyway, and you’d rather pay for expert help than gamble on luck.
Skip it if your main goal is budget street photography or you truly don’t want to walk and follow directions. But if you’re okay with a short, guided walking session, this is a strong value way to get Tokyo memories that are ready when you need them.
FAQ
How many people are included in the private group?
The private group is priced for up to 4 people.
How long is the photo shoot?
It lasts 1 to 2 hours.
Where is the meeting point in Tokyo?
You meet at Asakusa Station (Tokyo Metro Ginza Line), Exit 3. Walk about 90 meters straight to the police box next to the Kaminarimon Gate.
Which areas of Tokyo can you photograph?
You can choose locations such as Asakusa, Shinjuku, and Shibuya.
What specific places are included in Asakusa?
In Asakusa, the shoot includes Kaminarimon, Nakamise-dori, Hozomon Gate, and the area around the main hall and the five-story pagoda at Sensoji.
What specific places are included in Shibuya?
In Shibuya, the shoot includes the scramble crossing, Center Gai, and Miyashita Park.
What about Shinjuku locations?
In Shinjuku, the shoot includes areas such as Kabukicho and Nishi-Shinjuku.
How many edited photos do I receive?
The information provided lists two different sets of photo counts. One section says 30 edited photos for a 1-hour shoot or 50 edited photos for a 2-hour shoot, while another section lists 25 for a 1-hour shoot or 40 for a 2-hour shoot. You should confirm the exact number when booking.
How do I get the photos after the shoot?
You receive the edited photos through Google Drive download or by email.
What’s included, and what’s not?
Included: the photo shoot in the selected Tokyo locations and edited photo delivery (30 or 50 / or 25 or 40, depending on the confirmed plan). Not included: meals and drinks, transportation to locations, and entrance fees to attractions.
Is free cancellation available?
Yes, you can cancel up to 24 hours in advance for a full refund.