REVIEW · NARITA
From Narita Airport: Private Layover or Transit Guided Tour
Book on GetYourGuide →Operated by Orange Inc. · Bookable on GetYourGuide
Narita is where you can turn jet lag into a story. This private layover tour trades airport time for the Naritasan temple area, guided at a walking pace that actually fits a short connection. I like that you get a real person to steer the day (I saw how much guide support mattered, including meeting-point help from the team at Orange Inc.). I also love the mix of culture and scenery: Naritasan Shinshoji Temple plus the dramatic Goma Prayer experience. The only real drawback is the walking and timing: you’ll be on your feet for the day, and lunch plus train cash aren’t included.
Here’s the good part: in a few hours, you’ll see a slice of Japan that feels local, not staged. If your guide is someone like Fusako or Chiho, you’ll get explanations that connect the dots fast, plus small extras when they fit your schedule. Just go in with comfortable shoes and a cash plan so nothing slows you down.
In This Review
- Key highlights to know before you go
- A short layover plan that feels like real Japan
- Pickup points: where you meet and how the day starts
- The train ride: 15 minutes that set your mood
- Naritasan Omotesando: the old-street walk you’ll remember
- Shinshoji Temple: Buddhism and the Goma Prayer moment
- The 2-hour Narita free time: spend it wisely
- Lunch near Omotesando: seasonal choices and the eel question
- Price and logistics: is $277 worth it for a layover?
- Who this tour fits best (and who should skip it)
- Small tips that make the day smoother
- Should you book this Narita layover tour?
- FAQ
- How long is the tour?
- What does the price include?
- How many people can join for the $277 price?
- Where do we meet the guide at Narita Airport?
- Where do we meet the guide at Narita Station?
- Is lunch included?
- Is the tour walking-based, and what about luggage?
- Does the tour run in bad weather?
- Are there cancellation and payment options?
Key highlights to know before you go
- Private guide, English or Japanese: you can customize the day to your pace and interests.
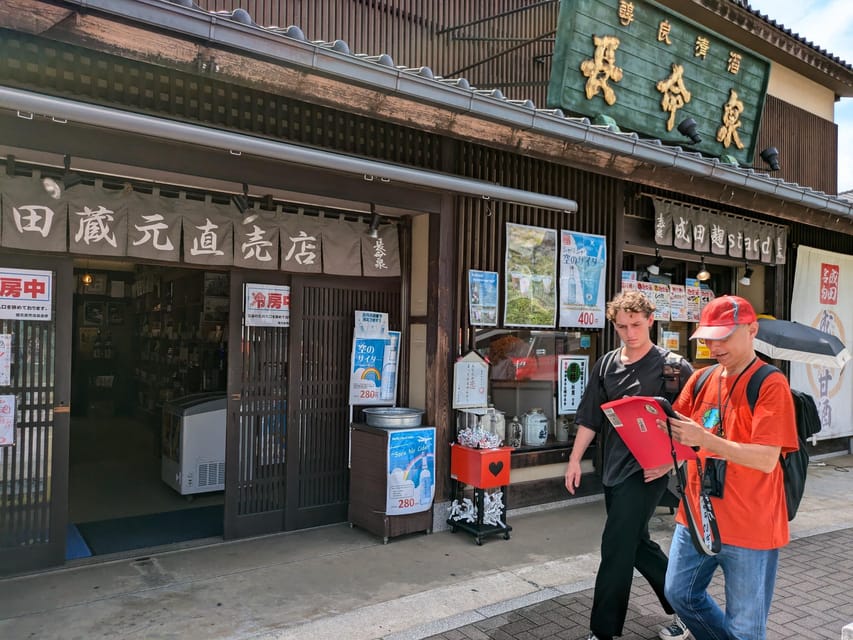
- Naritasan Omotesando stroll: an old-fashioned street walk that sets the tone immediately.
- Shinshoji Temple visit: a focused, easy-to-fit temple stop during your layover window.
- Goma Prayer ceremony: a Buddhist ritual experience that’s memorable and visually intense.
- Seasonal Japanese lunch options: eels and noodle choices are part of the menu world here.
- Cash-friendly logistics: some shops don’t take cards, and train fare is cash-based.
A short layover plan that feels like real Japan
If your flight timing is messy, it’s tempting to stay in the terminal and call it a day. I get it. But this kind of tour is designed for the opposite goal: use a layover to get your bearings in a real place.
Narita has a specific advantage. It’s not a big, overbuilt “see-it-all” city stop. You’re close to temple grounds and an old street area, so the day naturally gives you contrast—ordinary daily Japan alongside centuries-old spiritual space.
What makes this work especially well for a short connection is the pacing. You’re not trying to cram in multiple distant neighborhoods. The structure keeps moving, but not sprinting. And because it’s private, your guide can slow down if your legs or jet lag need it. You also aren’t stuck waiting in line to translate your way through everything; you get a person who can handle the practical stuff quickly.
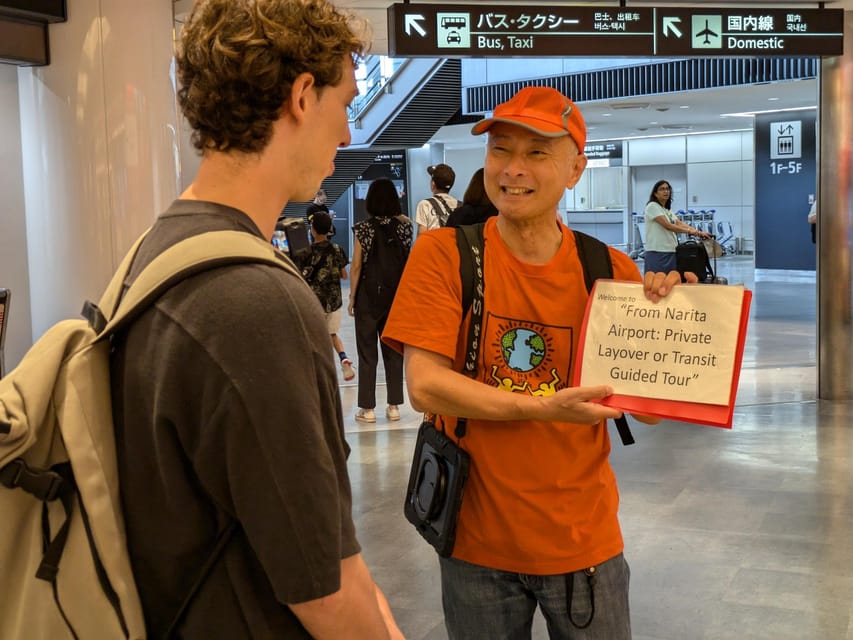
You’ll also benefit from the tour’s human touch. From real experience with guides in this program (like Fusako and Chiho), you can expect warm, straightforward help at the start—meeting-point photos, clear instructions, and guidance that reduces that “what do I do now?” feeling that can ruin a layover.
You can also read our reviews of more guided tours in Narita



Pickup points: where you meet and how the day starts
You can start from either Narita Airport or Narita Station, which matters a lot if your flight lands at a weird hour.
At the airport, your guide meets you near the Tourist Information Center area in the Visitor Service Center zone on the arrival level of Terminal 1. They wear something orange, so you can spot them without playing scavenger hunt.
At Narita Station, the meeting point is right outside the east exit of JR Narita Station near the Tourist Information Center.
One smart detail here: this tour is built around you going through airport-style security (which you’ll face anyway). So you should plan your schedule assuming you’ll need a little buffer to get checked, find your area, and meet on time. If you’re tight on time, being early at the pickup spot is your best friend.
The train ride: 15 minutes that set your mood
The transfer part is short—about 15 minutes by train. That’s not just convenience. It also means you’re not “wasting” your layover traveling across the wider region.
You’ll head to Narita Station first, then walk into the temple-street atmosphere. On days when you’re exhausted from travel, that train ride is often the moment where the trip clicks into place: you’ve left the airport behind, and now you’re walking into something older and calmer.
One practical tip: train tickets and small payments are where your cash plan matters. The tour notes that train fare is around 500 yen, so bring cash and don’t wait until you’re standing at a station machine to figure it out.
Naritasan Omotesando: the old-street walk you’ll remember
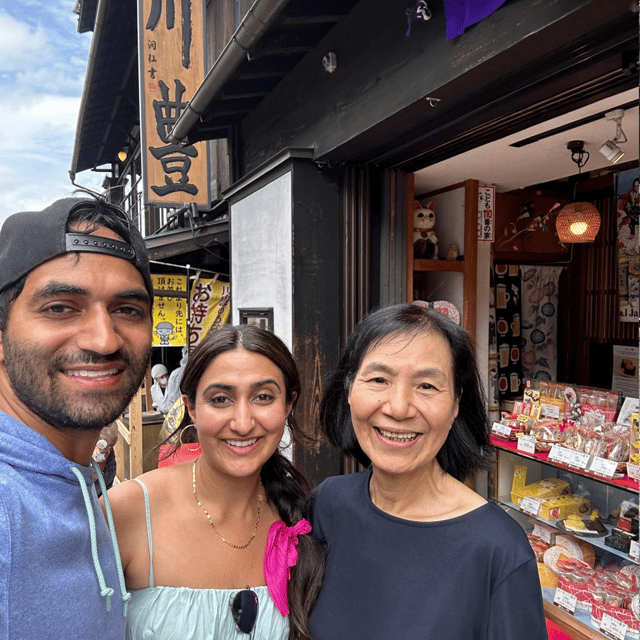
Your first guided stretch is Naritasan Omotesando, a walk through an old-fashioned approach street filled with shops and atmosphere.
This is the kind of place where you’ll feel Japan through small details:
- the rhythm of street vendors and snack stalls,
- the look of shops built for a long time,
- the way people move casually, not like they’re rushing for a photo.
The guide adds value here. Instead of just pointing and walking, a good guide explains what you’re seeing—how the street relates to the temple route, and what locals tend to look for along the way. In the past, guides have also helped guests with small culture moments like trying local sweets, and even pointing out reasonably priced shops for souvenirs.
How long? You get about 1 hour here with your guide. That’s enough time to feel the street, stop for a treat, and still arrive at the temple not breathless.
A small drawback: Omotesando is a walking experience. If you arrive with heavy luggage, don’t try to haul it. The tour is a walking guided format and baggage storage fees aren’t included—leave your large bags at the airport.
Shinshoji Temple: Buddhism and the Goma Prayer moment
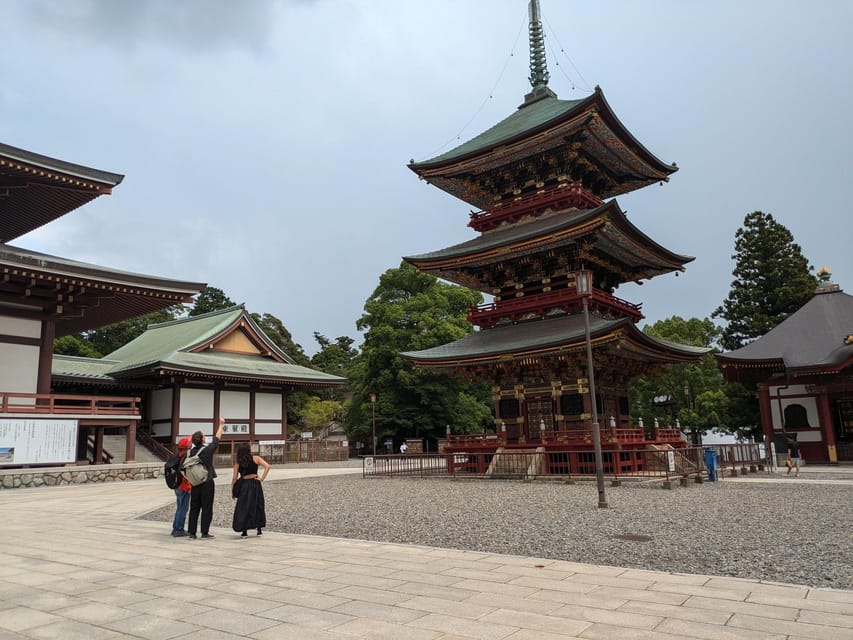
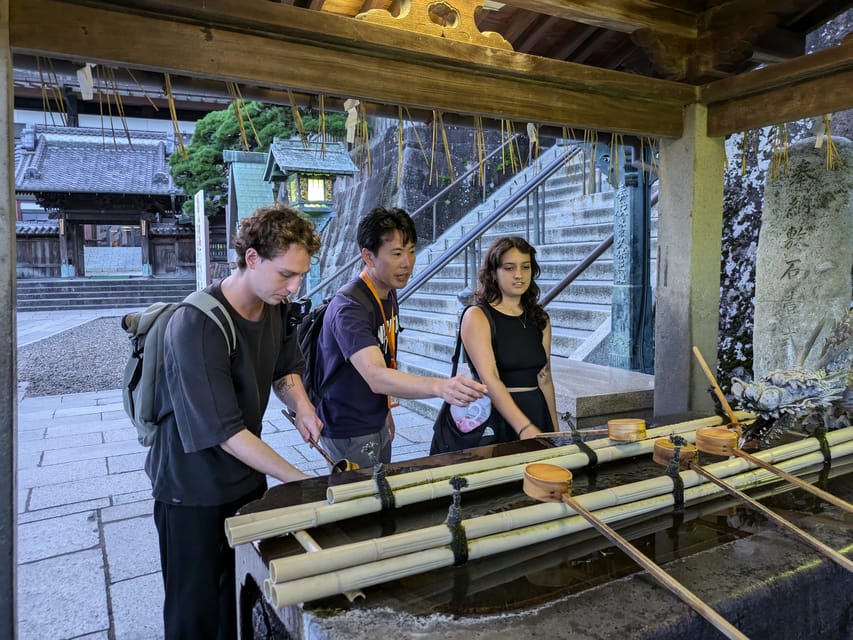
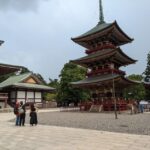
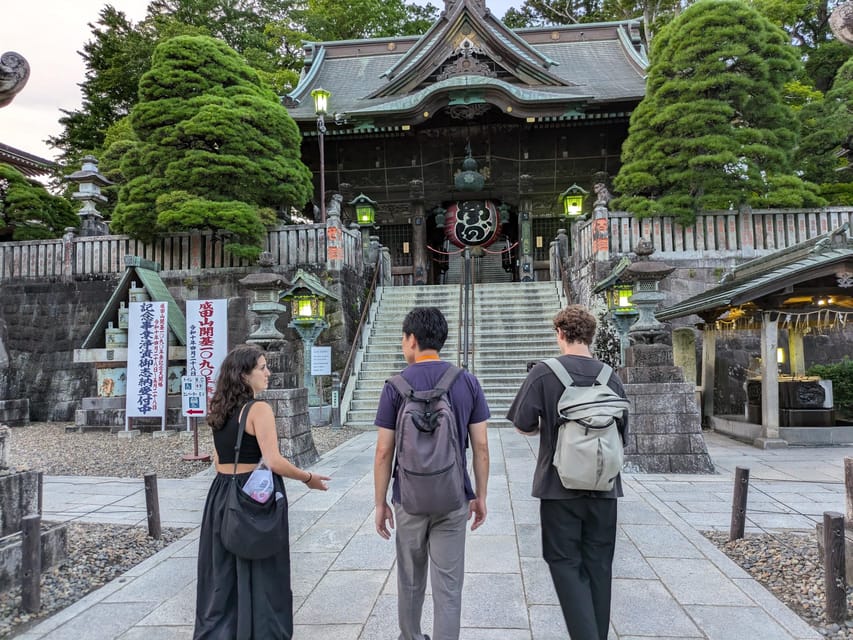
Next is Naritasan Shinshoji Temple, including a chance to observe Buddhism in action and see the Goma Prayer ceremony.
This is the heart of the experience. The temple visit is only about 30 minutes guided time, so the tour doesn’t try to make you an expert on everything temple-related. Instead, it gives you a focused window where you can actually watch and absorb what’s happening without getting lost in details.
Why the Goma Prayer stands out (in a good way): it’s visually intense and meaningful. Even if you don’t know the theology, you can understand the energy—people participating in a ritual linked to faith, purification, and devotion. It’s the kind of thing that feels different from watching a temple from the sidewalk.
Another reason this visit works for layovers: you’re not wandering for hours trying to “cover” the grounds. Your guide keeps the experience tight and respectful while still letting you appreciate the setting.
If you want extra culture time during the day, this is the moment to ask your guide what’s possible. In past experiences on this tour, some guests have been able to participate in a tea ceremony during their layover window, depending on what’s scheduled and timing. Don’t assume it’s guaranteed, but it’s worth asking early if you’re interested in traditional practices.
You can also read our reviews of more private tours in Narita




The 2-hour Narita free time: spend it wisely
After the temple time, you get about 2 hours of free time in Narita. This is your flexibility block, and it’s also where you can control how “tour-like” the day feels.
Here are practical ways to use it well:
- Follow your food curiosity. If you’ve been eyeing snacks on Omotesando, this is the time to choose what you want without rushing.
- Shop with intention. The tour recommends cash for purchases and notes that some places don’t accept credit cards. If you want souvenirs or small gifts, having around 10,000 yen in cash makes life easier.
- Keep it easy on your feet. This is still a walking day. If your layover is already draining you, use free time for calmer browsing rather than trying to “max out” sightseeing.
A helpful mindset: treat this free time like a local’s wandering zone. You’re not building a checklist. You’re letting the area set your mood.
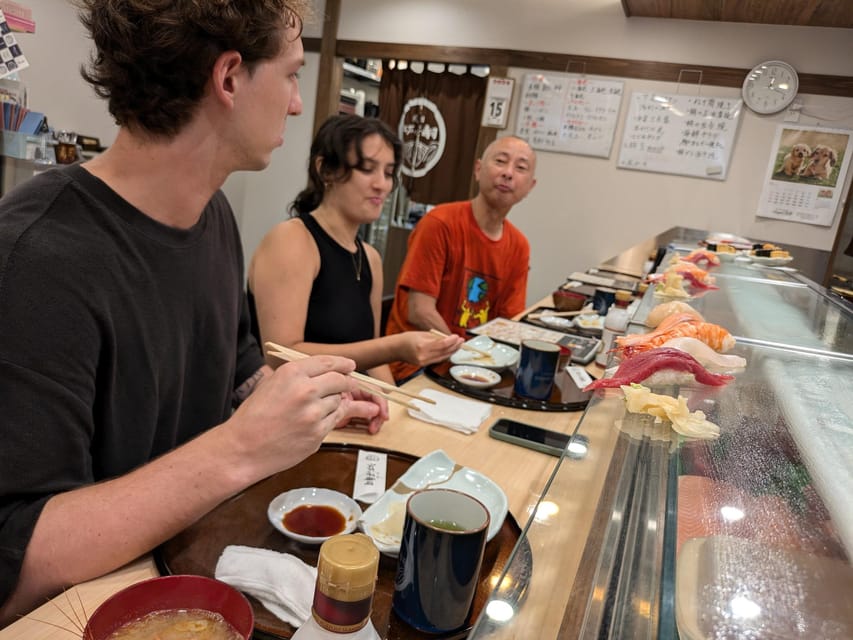
Lunch near Omotesando: seasonal choices and the eel question
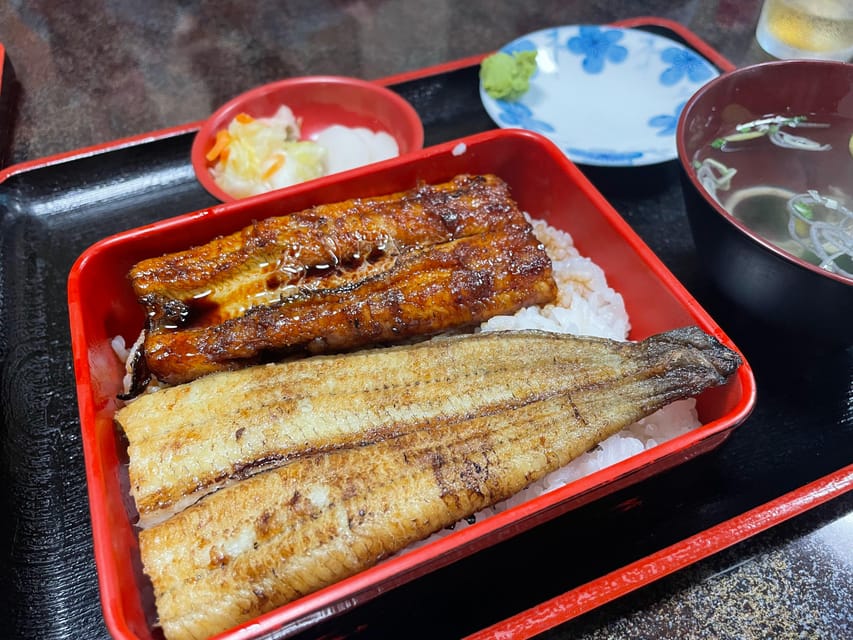
Lunch is about 1 hour, and the tour includes the plan for you to get a meal, but not the meal itself.
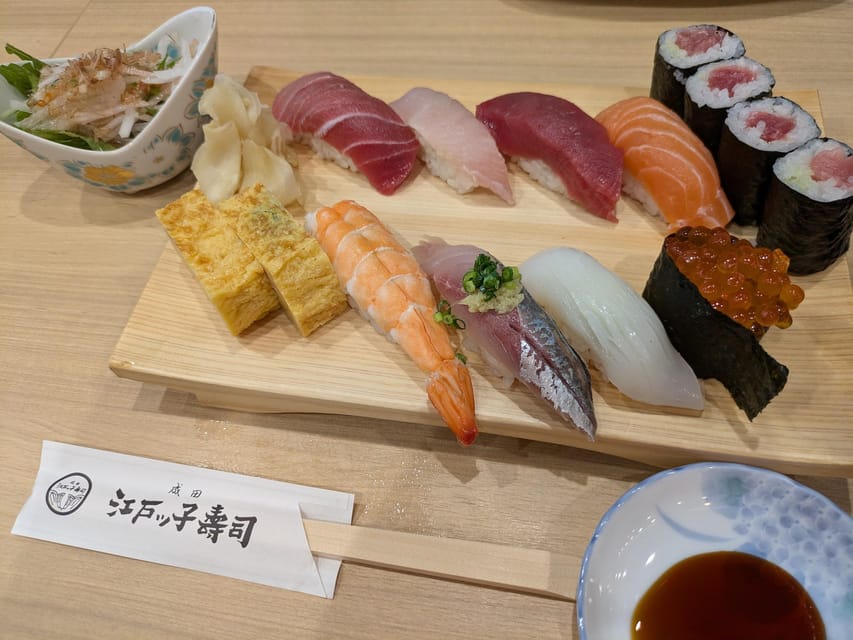
The food choices here are where the day becomes genuinely satisfying. Narita’s Omotesando approach is known for eel, and you’ll also find choices like sushi, tempura, and noodle dishes such as soba or udon. Prices for a typical dish are often around 2,000 yen, with higher-end options around 3,000–4,000 yen.
Two things I like about this setup:
- You can pick what fits your appetite after temple time, not just what sounds good on paper.
- A local guide helps you choose a place that makes sense for your taste and budget.
Based on experiences with guides like Fusako and Chiho, lunch sometimes includes small cultural extras that go beyond ordering. For example, I’ve seen guides arrange special touches like paper origami activities (paper crane practice) or add-on cultural moments such as haiku-style writing during the meal. Those aren’t something to count on every day, but they show what you can gain when a guide is paying attention to you as a person, not just moving you through stops.
Price and logistics: is $277 worth it for a layover?
The price is $277 per group up to 4 for a 4-hour private tour. That’s not cheap on paper, but layover tours live or die on value-for-stress.
Here’s why it can be worth it:
- You’re buying time + confidence. A guide handles meeting points, train movement, and pacing so you don’t waste your layover solving logistics.
- You get customization. The day can adapt to your interests and needs, which is rare at this price point for a private group.
- Pickup and drop-off are included. That saves hassle—especially if you’re short on time between flights.
- You get more than sightseeing. You’re also getting culture context and food guidance, including cash-aware tips.
Now the tradeoffs:
- Lunch isn’t included.
- Train fare is extra (around 500 yen), and cash matters.
- It’s a walking tour, so if you travel with heavy luggage, you’ll need to manage baggage at the airport first.
My practical advice: budget for lunch plus a bit extra for drinks and snacks, and follow the cash recommendation. If you do that, the day feels like a full, well-guided mini-trip rather than an expensive airport excursion.
Who this tour fits best (and who should skip it)
This is a great fit if:
- you have a layover long enough to justify leaving the airport area,
- you want a private guide, not a bus tour,
- you care more about a meaningful slice of culture than ticking off big-name attractions,
- you’re comfortable walking at least part of the day.
It might not be ideal if:
- you’re traveling with heavy luggage and don’t want to deal with leaving it at the airport,
- you’re dealing with mobility limits that make walking hard (even though the tour is listed as wheelchair accessible, you still need to consider the walking/time involved),
- your layover is extremely tight and you can’t afford security and buffer time.
Small tips that make the day smoother
These are the details that keep the tour from feeling stressful:
- Bring comfortable shoes. You’ll be on your feet through Omotesando and temple grounds.
- Bring cash. Some shops don’t accept credit cards, and train fare is cash-based.
- Pack for weather. The tour runs rain or shine, and you should dress accordingly.
- If it’s warm, plan for heat. The tour specifically warns about heat stroke and suggests a hat and precautions. On very hot days, the route may change.
- If you’re using the airport as your base, leave large luggage at the airport since baggage storage fees aren’t included.
Should you book this Narita layover tour?
If you want your layover to feel like Japan instead of an endless waiting room, I’d book this. It’s private, time-smart, and built around experiences that don’t require a whole day of travel. The combination of Omotesando street walking and the Shinshoji Temple + Goma Prayer visit makes it feel earned, not rushed.
The decision comes down to your comfort with walking and your budget for extras. If you’re good with that—and you show up with cash and comfortable shoes—this can turn a connection into a real memory.
FAQ
How long is the tour?
It runs about 4 hours total.
What does the price include?
The tour includes a private guide and a customized tour. Lunch and train fare are not included.
How many people can join for the $277 price?
It’s priced per group up to 4 people.
Where do we meet the guide at Narita Airport?
The guide meets you near the Tourist Information Center in the Visitor Service Center area on the arrival level of Terminal 1. The guide wears something orange.
Where do we meet the guide at Narita Station?
The guide meets you near the Tourist Information Center right outside the east exit of JR Narita Station. The guide wears something orange.
Is lunch included?
No. Lunch is not included, and typical Japanese meal prices are noted around 2,000 yen, with higher-end options around 3,000 to 4,000 yen.
Is the tour walking-based, and what about luggage?
Yes, it’s a walking guided tour. Baggage storage fees are not included, so large luggage should be left at the airport.
Does the tour run in bad weather?
It takes place rain or shine, and you should be prepared for the conditions.
Are there cancellation and payment options?
You can cancel up to 24 hours in advance for a full refund, and there is a reserve now & pay later option.